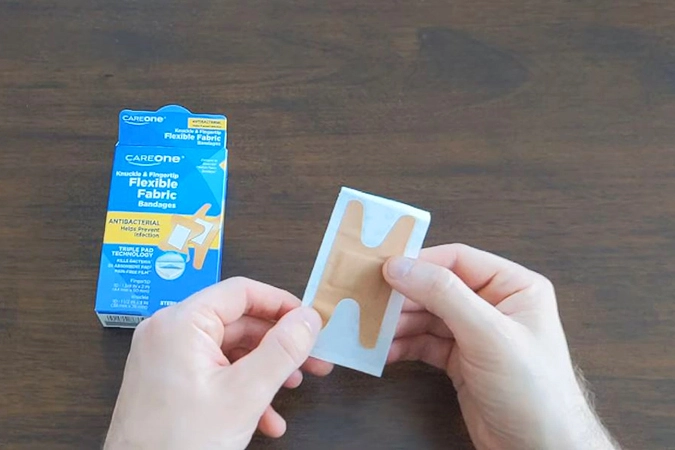
There’s nothing worse than a cut on a knuckle! With all the movement your hand makes and the fact that the skin is always flexing, the cut tends to take longer to heal. Plus, all of this movement makes it difficult to keep a bandage in place. Enter the knuckle bandage! This H-shaped bandage is specifically designed to take care of cuts and scrapes on the knuckles of your hand.
The best knuckle bandages are made of a flexible and durable material and have a strong adhesive. The most common knuckle bandages are made of a flexible fabric that conforms to your finger and its movement.
They aren’t just useful for knuckles – anywhere that is oddly shaped is a good candidate for one of these Band-Aids. Consider using them on toes, feet, heel, Achilles area, or elbow.
How to apply a knuckle bandage
- Wash your hands – If water and soap isn’t available and you don’t have gloves, do your best to clean your hands and use sand sanitizer if it’s available.
- Clean and disinfect the wound
- Open the bandage wrapper
- Remove one side of the protective backing from the tape
- Apply an antibiotic ointment like Neosporin to the cotton pad (not required, but suggested)
- Place the dressing on the wound
- Stick the two “legs” of the bandage on either side of the knuckle
- Remove the backing from the other side and apply over the first two “legs”
- The inside of the knuckle joint should be free from the adhesive bandage, allowing the knuckle to flex.
Pro tip: Use Tincture of Benzoin to make the bandage stick better!
How to DIY a knuckle bandage with a typical strip bandage
You may not always have a knuckle bandage on hand. First aid kits often don’t come with very many, or you have to go out and buy a box or a variety pack that contains them. If you haven’t done that, don’t worry! Here’s is a hack for you to make your own.
- Wash your hands and the wound
- Remove the bandage from the wrapper
- Using scissors, cut the two adhesive ends of the bandage from the tip to just before the cotton pad. This will give each adhesive ends two “legs”.
- Remove one side of the protective backing
- Apply an antibiotic ointment to the cotton pad (not required, but suggested)
- Place the dressing on the wound
- Stick the two “legs” of the bandage on either side of the knuckle, staying away from the inside of the knuckle joint
- Remove the backing from the other side and apply over the first two “legs”
What works for you? Let us know in the comments below.