It may be tempting to hop online and buy the first 1st aid kit you come across with decent reviews and that fits your budget. Sure, you’ll probably get a pretty decent kit, and it’ll have most of what you need, but this isn’t usually the best option. Often the quality of the contents is lacking and you will need to add or take away items to get exactly what you’re looking for.
Taking some time to evaluate your needs and assemble a kit specific to you, your situation, and your family can be well worth the effort. Below are the top 11 reasons why you should create a homemade first aid kit.
1. It will contain what you need.
- Just because a first aid kit checks the “Band-Aid” box doesn’t mean they work for you. Do you work in a kitchen for example? Having adhesive bandages that are waterproof and that you know will last your entire shift is important. You don’t need a customer returning their mashed potatoes with your bandage in it.
- You know the activities you enjoy better than anyone, so you’ll know what works for you. I’m a frequent trail runner. When I’m 10 miles from the car and get a serious blister, I don’t want to be testing out some new kind of bandage. I personally would rather duct tape over any off the shelf blister care product out there, and that’s what I keep in my running first aid kit.
- Make it personal: Do you have prescription medications? Do you need an Epi-Pen for bee stings? Do you have an infant or toddler? What climate do you live in? All of these will impact the contents of your first aid kit.
2. It won’t contain what you don’t need.
- How many first aid kits do you see advertised as having 100, 250, 500 pieces? Now how many of those do you think are “fluffed” with a few extra bandages to hit a nice, clean number? I saw a 299 piece first aid kit that had 196 Band-Aids; 50 of which were the tiny ones for children.
- If you are running or backpacking, weight and size matters. You probably wont need 15 Band Aids, but maybe two or three. You can easily replenish the kit once you get back from your adventure and keep your kit small.
- How useful is that emergency blanket for your home or office first aid kit? Sure it can be used to help someone in shock, but there’s probably something else (and better) you can use within sight.
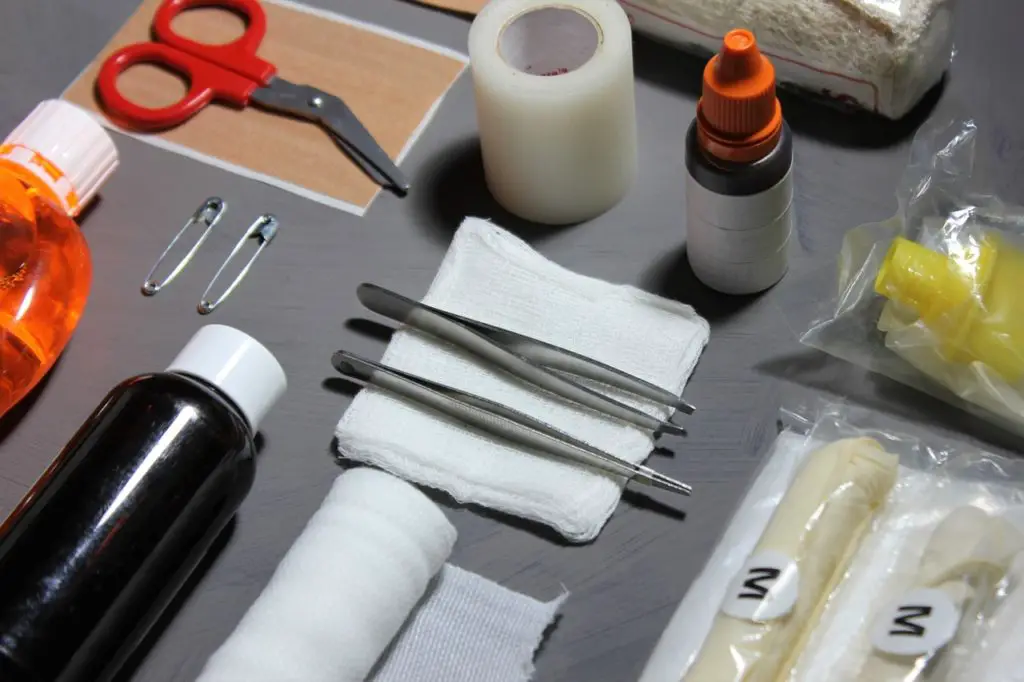
3. The process of assembling your kit makes you intimately familiar with its contents and organization.
When you take the time to choose every item that goes into your kit, you’ll likely take some time to research it and see how it works. You can then decide how you want to organize your medkit. How do you want to group things? What do you use the most? When you organize your kit, you’re more likely to be able to find what you’re looking for in a stressful situation.
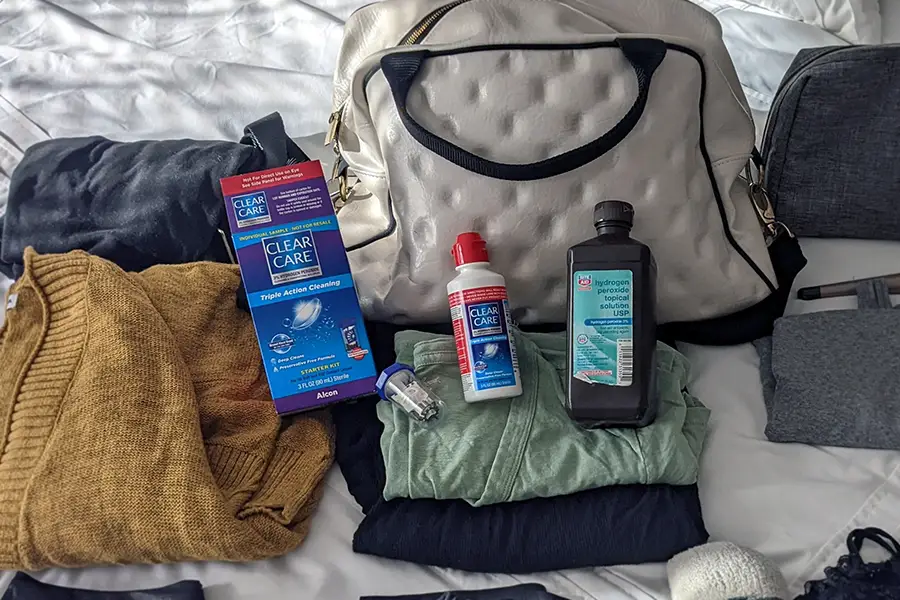
4. You can use items you already have at home, or can piece a kit together from other sources.
There’s a good chance you already have some items at home. Maybe you have Band-Aids, or an extra pair of tweezers hanging around. Maybe your work has boxes of individual dose packets of over-the-counter medication. I’m sure they can part with a few.
5. Buying in bulk means that you can make several first aid kits and replenish the ones you have.
It’s more cost-effective to buy in bulk, and when you have plenty of supplies you’ll be more likely to create more first aid kits. You can create one for each of your vehicles, for your home, for the diaper bag, or for your bug-out bag.
6. Cost of building your own first aid kit.
It won’t necessarily be cheaper, but it can be. If your plan is to make a single, small first aid kit, you may be better off starting with a pre-made kit and supplementing it where it is lacking. It’s possible for you to go out and DIY a budget first aid kit, buying all of the cheapest options, but it probably won’t be any better than a pre-assembled one. Buy what you need, make more than one kit, and have supplies left over to restock. If you’re making one large comprehensive kit, it can definitely be more cost-effective to build it yourself.
7. Items in pre-made kits are often low quality.
The value and quality of the contents matter. You won’t be glad you saved a few dollars when your trauma shears can’t actually cut through fabric, or you don’t have surgical tape appropriate for your conditions. When you build your own kit, you can choose to spend money on the things that you know you will use regularly or that are important to you.
8. You wont be afraid to use it.
This may sound a little silly, but I remember my first backpacking first aid kit. It was this pre-packaged product that looked too nice to actually open and mess up. I wanted to be sure to only use it in a real emergency, and it took me far too long to ever actually put it to use.
9. Get the case you need.
I bought a pre-assembled hiking med kit with a case labeled “waterproof”. We were out backpacking for the weekend and I had placed my first aid kit in a water-resistant bear bag that was hung from a tree for the evening. That night it poured! The next morning I woke up to a first aid kit that was soaked all the way through. It probably would have been fine if it was just a light rain, but that wasn’t the case. This is just one example, but maybe you need a hard case for situations where your first aid kit will get bumped around, or a backpack when you want it to be mobile. You can also choose a case that will have partitions or sections to meet to help you organize it in a useful way.
10. The contents will fit you.
Have you ever tried to do something that required dexterity in gloves that are too big? Can you even fit your fingers in the scissors? How do the tweezers fit in your hand? Does the backpack fit you comfortably?
11. No pre-made kit will be exactly what you are looking for.
If you are going to buy a pre-made kit, keep the previous 10 items in mind when evaluating your options. Maybe you can get a kit that will get you 90% of the way there, and you only have to supplement a few items. Just don’t expect to find that perfect first aid kit.
Tips for building your own first aid kit:
- Group items by use and separate into packages or zip lock bags and label them. You can group them in anything, as long as it helps your get to what you need in an emergency. Using re-sealable vacuum sealing bags is a great solution as well. Some possible groupings to consider:
- Wound treatment
- Burn treatment
- PPE
- Medications
- You may want to get a small general first aid kit for all the basics and include that in your custom made kit.
- Research if first aid kits are HSA or FSA eligible. You may be able to save some money if you can make purchases with one of these options. Check this document to see how HSAs and FSAs work and what type of items are included. https://www.irs.gov/pub/irs-pdf/p969.pdf
- If you try to prepare for every situation, your first aid kit could fit in a suitcase. You’ll need to take some time to decide how prepared you want to be. What is your risk based on your lifestyle? How far are you away from a hospital or first responders? How much knowledge do I have to use the tools I may include in my kit?
- The best thing you can do is get some first aid training which will provide some insight on how to build your kit.
Be sure to continue to The top essential items to include in your first aid kit for more information on what to include in your first aid kit.