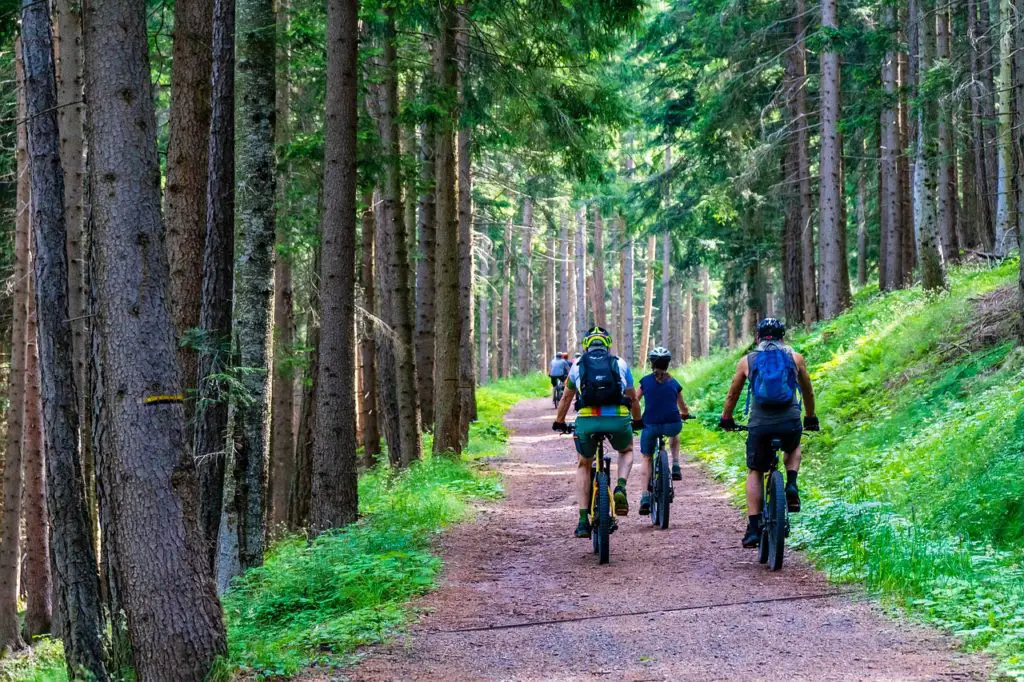
If you mountain bike, you know that taking falls comes with the territory. If you’re like me, taking falls is a constant occurrence! When this happens I want to be able to patch myself up and get back on the bike quickly. If it’s a serious injury, I want to be able to take care of myself or someone else in order to get back to the trailhead or to remain safe until help arrives. The following article will cover some of the typical MTB injuries and how to treat them, how to put together your own MTB first aid kit, and a few other things you could keep with you just in case.
Typical injuries occurred while mountain biking.
Typical bumps and bruises
- Road rash. This consists of you surface level abrasions from grinding your skin into the dirt and rocks. It often looks bad and hurts like hell, but won’t necessarily end your day. Wearing appropriate protective gear based on the terrain is the best way to keep your skin intact. But if there’s skin showing, there’s a way to tear it up. Rinse and clean the wound, add a antibiotic ointment, and cover it up. If it’s in an area with a lot of movement, you may want to add additional tape to keep the bandage in place.
- Smashing shins on your pedals. Platform pedals are the worst, and can cut you up in addition to the painful bruise. Some minor bandaging may be needed to keep cuts clean.
- Bee stings and insect bites. I’ve gotten stung on my fingers twice while riding. Luckily, I don’t have a severe reaction to bee stings, but some people do. Remove the stinger by scraping it out rather than using tweezers and apply insect relief cream if needed. If the swelling and itching is bothersome, you can take an antihistimine. If you are allergic to bees, but sure to carry an EpiPen.
The more serious injuries
- Finger, hand, and wrist injuries are frequent occurences, usually from catching your fall. It’s a natural reaction to put your hands out in front of you as you tumble. Although you’ve protected your body, your limbs will take a toll. You may want to immobilze the joints until you can get help from a professional. This can end a day, and it’s not recommended that you continue to ride without a fully functioning hand; not being able to brake properly can lead to another injury, and the additional impact of bumps while riding on hurt joints will only make them worse.
- Collar bone or shoulder injuries. For the harder falls, the impact can damage the should joint or collar bone. Again in this case, you will want try to not move the joint until you can get help. Consider using a sling or a splint.
Head Injuries
Wearing a helmet is a must, but even still, head injuries can occur. Know the signs of a concussion. The CDC breaks down the signs and symptoms into signs you can observe and symptoms that the injured person may report.
Concussion Signs Observed
- Can’t recall events prior to or after a hit or fall.
- Appears dazed or stunned.
- Forgets an instruction, is confused about an assignment or position, or is unsure of the game, score, or opponent.
- Moves clumsily.
- Answers questions slowly.
- Loses consciousness (even briefly).
- Shows mood, behavior, or personality changes.
Concussion Symptoms Reported
- Headache or “pressure” in head.
- Nausea or vomiting.
- Balance problems or dizziness, or double or blurry vision.
- Bothered by light or noise.
- Feeling sluggish, hazy, foggy, or groggy.
- Confusion, or concentration or memory problems.
- Just not “feeling right,” or “feeling down”.
If you suspect someone has a concussion, you should not let them continue to ride their bike and get them to an emergency room immediately.
What is in a mountain bike first aid kit?
Let’s look at the contents that you would likely want to include in your MTB first aid kit. Generally, we’ll want to be able to patch up abrasions and lacerations as well as immobilize or support joints. Any more serious injuries will likely require the help of a professional. Items to include:
Antiseptic Wipes. Use this to sanitize a wound or an instrument. Hand sanitizer can work too.
Elastic bandage. This is your typical ACE bandage or something similar. They stretch and are used primarily to support injured joints. They can also be used to hold splints in place or apply pressure to bleeding wounds. There are two major types: rolls that are clipped in place and rolls that are self-adhering. The self-adhering is usually a one-time use and easier to work with, while the clipped version can usually be washed and re-used.
Gauze. I suggest carrying a selection of pad sizes as well as a roll. The pads are good for smaller wounds and can be held in place with tape. The rolls can wrap around limbs, the head or can be used to address wounds with extensive bleeding.
Medical Tape. I’d suggest a transpore tape since it’s strong enough to hold things in place if you plan to continue to ride. It’s porous so it can breathe, and will stay on when sweaty or if it gets wet. If you want to learn more about medical tape, check out this article.
Syringe. Bring along an irrigation syringe that can help to rinse out dirt and debris from wounds. You can also use an antiseptic as a second rinse to fully clean the wound before dressing it.
Tweezers. Get a pair that you can comfortably hold on to, or you may want to consider forceps.
Antibiotic ointment. Bringing along Neosporin or a similar product is great for applying to wounds to keep them clean. It also can be applied to bandages or gauze to keep them from sticking.
Splint. For the full medical kit, carrying a SAM splint or two is the way to go. They are flexible, lightweight, reusable, and can be cut to size. These are the best and quickest ways to immobilize a limb.
Finger splint. You can buy a SAM splint or other premade splints for fingers, but wood tongue depressors also work for the DIYer. You can even use popsicle sticks but you may want to cut them down and round the edges ahead of time.
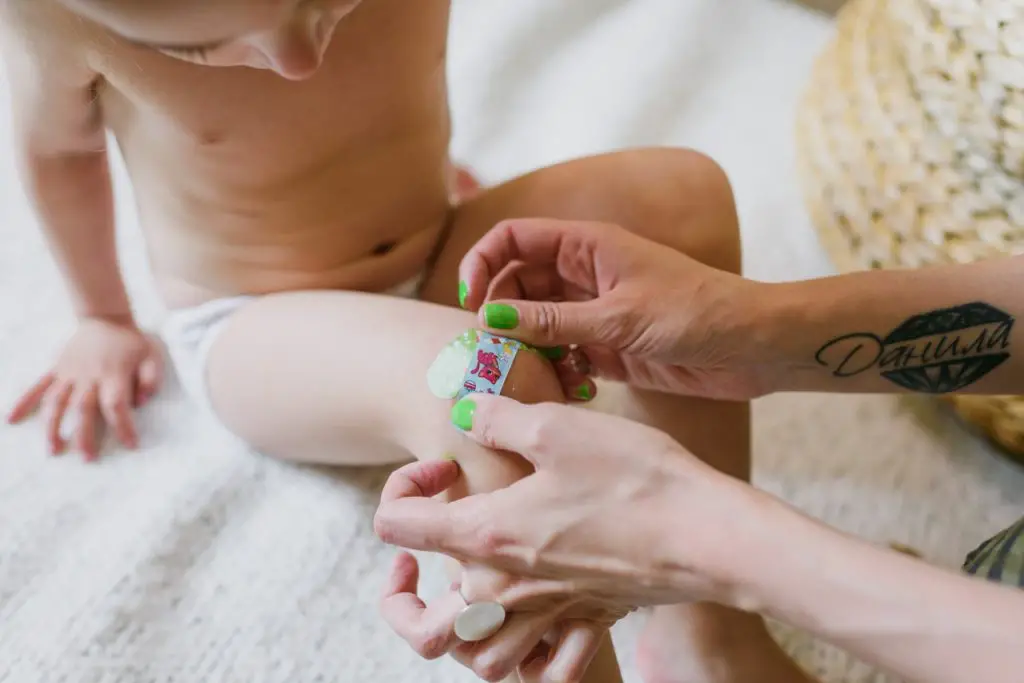
Adhesive bandages. Carry an assortment of sizes including 1 or 2 large ones (3″x3″ and 4″x5″ are good sizes) for the bigger scrapes. This link includes a full guide to adhesive bandage types and uses.
Bandana. All around versatile item that can help to make splints, tourniquets, wrap wounds, keep the sweat out of your eyes, etc.
Antihistamine (Benadryl). Keep a few doses with you to calm allergic reactions. Allergies can develop over the years, so it’s good to keep them on hand if you don’t have serious allergies that you know of.
Gloves. Keep some nitrile gloves around to keep your dirty hands off of vulnerable wounds.
Triangle bandage. These are pretty small and can be great for making a splint, sling, stopping bleeding, or bandaging wounds. Look for the kind that has safety pins included. Here’s a guide to all things related to triangle bandages and their various uses.
Scissors or multi-tool. You may already have a multi-tool on hand, but you should carry something that
Emergency contact info. Make sure there are a couple of contact numbers in case you’re severely injured. It’s a good idea to list any other medications, allergies, blood type, or any other helpful info as well.
Case. Roll top dry bags are pretty common and work well. I usually just use a zip lock bag.
Want to DIY your own mountain bike first aid kit. I’ve put together a shopping list to get you started here.
What items should you carry while mountain biking?
There are a few items you should consider bringing along that can really be the difference between life and death if you’re stuck in the woods. If you’re going for a short cruise around your local trails, then you probably don’t need much. But for longer trips or extreme conditions, you might consider bringing some of these items along.
- Bike maintenence gear. I’m going to sum up tools, tire repair, patch kits, pumps, etc. under one bullet point. There is a lot to cover here and is more than enough for several additional articles. This should be carried with you even for short rides.
- Headlamp. Maybe you are trying to squeeze in an extra mile or two at dusk and need some illumination to get back to the car, or maybe you’re bikes busted and you need it while trying to make a repair.
- Duct tape and zip ties. Could be considered bike maintenence gear – could be considered first aid gear. Either way, both are infinately useful.
- Emergency blanket or bivvy. A mylar blanket is great and lightweight addition. Consider a bivvy if you think there’s a change you’ll be stuck over night. These are also useful if someone is severely injured and goes into shock.
- Poncho. Between blocking the wind and rain, a $2 poncho is a great addition to keep you warm and dry.
- Water filtration. A few iodine tablets take up no room and can be the difference between dehydration and getting home. If you can add a few ounces to your bag, bring a filter to refill your water bottle or bladder while you’re riding.
- Fire starter and tinder. Another small but invaluable tool if your are stuck overnight.
If you’re interested in survival kits, check out What You Need For A Hiking Emergency Kit.
General tips
- Nothing can substitute formal first aid training. Take a first aid class, prefereable a wilderness first aid course which will specialize in backcountry situations where you will likely have to improvise while help arrives.
- A full repair/tool kit should always be carried including items like a pump/CO2, tire lever, multi-tool, spare tube, etc. This isn’t an extensive list so if you’re new to mountain biking, you’ll need to research this further.
- Make sure you’re carrying additional calories beyond what you think you’ll need for your ride. A few gels or a snickers bar can go a long way when your dragging at the end of a long day.
Best premade mountain bike first aid kits
If making your own first aid kit isn’t for you, here are a few options for premade kits to consider. Just remember that adhesive bandages (which make up half of the kit) are usually of poor quality in these pre-made kits.
The Adventure Medical Kits Sportsman Series 100 almost nails it. The Adventure Medical Kit series of first aid kits are well known and reputable. This kit, in particular, includes the items you will likely need without being too cumbersome to carry. My criticism would be that it lacks some immobilizing items. The bag is waterproof, measures in at 7.5 x 6.25 x 6.25 inches and weighs less than 7 ounces.
The Cycling First Aid Kit – IFAK for Bikes is another fairly good option. It comes with some items that others lack, like an emergency blanket, scissors, and a triangle bandage. It lacks other items like a syringe or a first aid pocket guide. I’m also not a fan of the case it comes in and can’t imagine many mountain bikers using it. It measures in at 9 x 7.5 x 2.75 inches and weighs 10 ounces.
Are there other first aid items you carry with you while mountain biking? Let me know in the comments below.


