Whether placing a simple band-aid on a small cut or dressing a larger wound, the bandage needs to stay on. Covering a wound helps maintain the natural moisture required for wound healing and keeps the wound clean, which helps prevent infection. Additionally, properly covered wounds are less likely to leave a scar.
In this article, we will review some basic wound care techniques and give you some tips to help make your bandages stick. Hopefully, this knowledge will allow your wounds to heal better!
1. Clean the area and dry the area well before placing any bandage.
Cleaning the wound is an essential step in preventing infection. Ensuring that any dirt or natural skin oils are removed from around the wound will help adhere the bandage to the skin. During this cleaning process, it’s not necessary to scrub the wound or remove any scabbing, as this can cause the wound to scar worse.
After cleaning, don’t leave the wound wet as any moisture on or around the wound can prevent the bandage or tape from sticking to the skin – dry skin is essential.
Not only should you clean and dry the wound before the first bandage is placed, but every time the bandage is replaced.
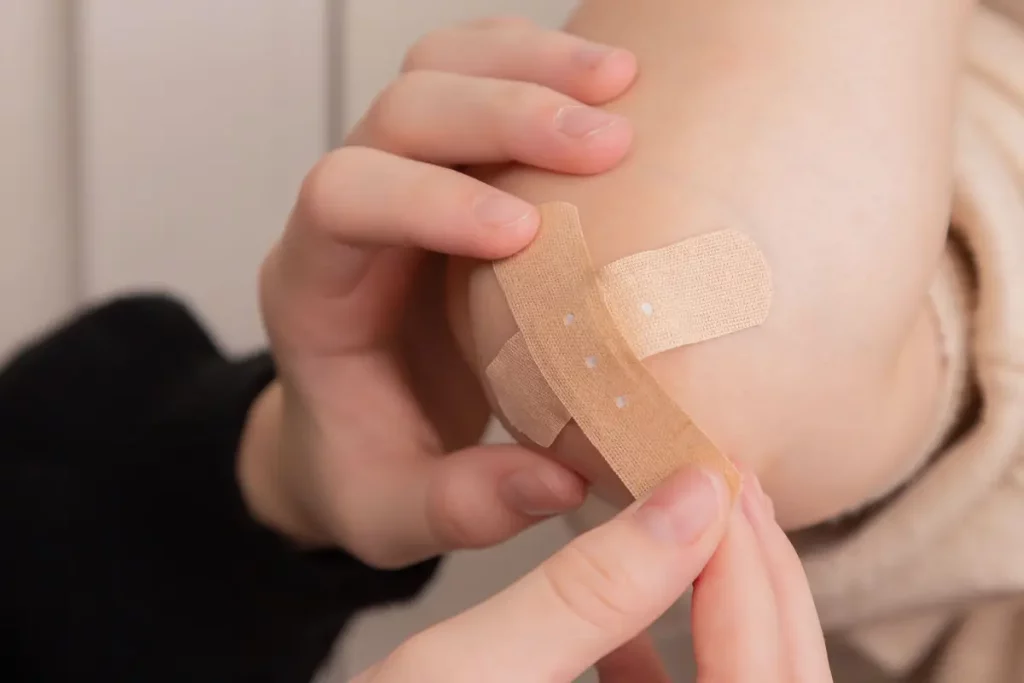
2. For smaller wounds, use Tincture of Benzoin and band aids.
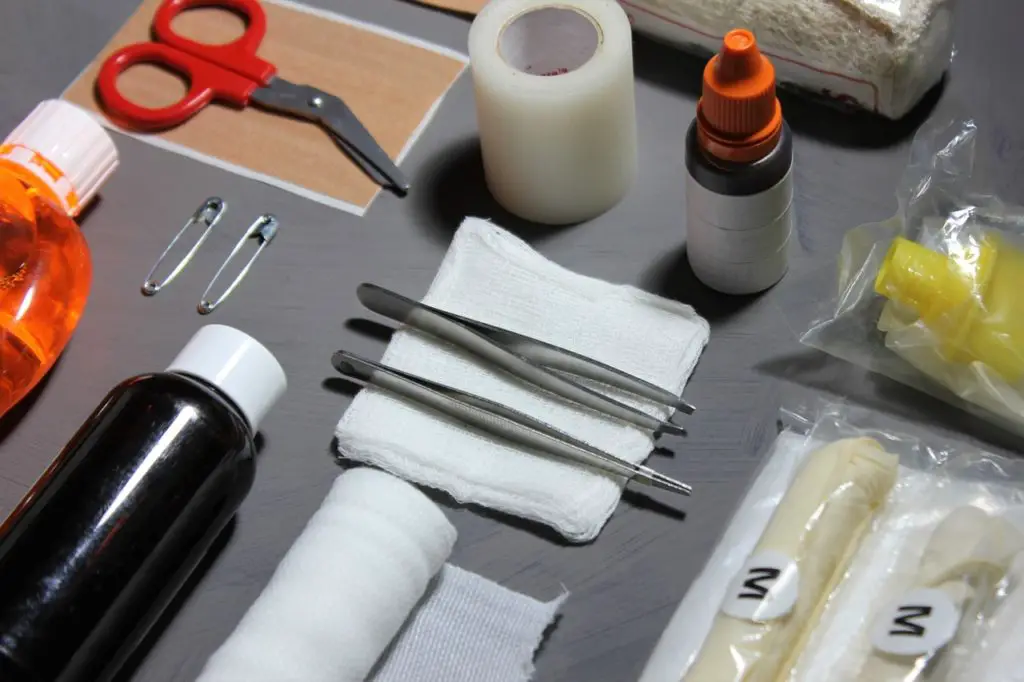
No at-home or vehicle first aid kit would be complete without a variety of band-aids. Band-Aids come in various sizes and are excellent for smaller wounds to support healing and help prevent infection by keeping the wound clean. We have a complete break down of band-aids in this article.
Since they come in multiple shapes and sizes, we suggest you purchase a variety pack to have band-aids that cover a myriad of wound sizes. When buying band-aids, look for waterproof ones, as these tend to adhere more effectively.
Tincture of Benzoin is an excellent addition to any first aid kit. It’s a combination of benzoin resin in alcohol. Invented in 1760 by Joshua Ward, Tincture of Benzoin has a variety of uses for wound cleaning and healing. In this situation, a small amount of Tincture of Benzoin should be placed onto a Q-Tip and rubbed around the wound. Let this air dry, and then place the band-aid directly over the wound. This will help keep the bandage in place, keep the wound clean, and help the wound heal faster.

3. For medium size wounds, follow these steps to ensure you bandage stays on:
- Clean AND dry the wound thoroughly
- Use sterile or clean 4×4 gauze to place directly on the wound
- Secure with medical grade tape OR
- Secure with a Kerlix or similar roll gauze
- Tape the gauze to ensure it stays in place (add tincture of benzoin to help it stick better!)
- Change this type of dressing every 12 hours OR when the dressing becomes soiled
4. For wounds on limbs
- Clean AND dry the wound thoroughly
- Use a sterile or clean 4×4 to place on the wound
- Wrap the wound with Kerlix or gauze roll
- When wrapping, wrap from DISTAL to PROXIMAL (i.e., an elbow wound should be wrapped from the wrist toward the shoulder)
- Secure with medical tape (add tincture of benzoin to help it stick better!)
- Change this dressing every 12 hours OR when the dressing becomes soiled
5. Use products such as “Liquid Bandage” when able
Liquid Bandage was approved by the FDA for the United States in 1998, and since then, a wide variety of different brands have appeared on the market. Most liquid bandage brands have several chemicals in them, including pyroxylin and 8-Hydroxyquinoline. These substances form a protective glue-like film over the laceration (cut). Liquid bandage also contains ethanol, which helps keep the wound clean and free from infection.
Using liquid bandages is a simple and easy way to help seal and heal small cuts. Following the steps below will ensure maximum wound healing.
- Clean and dry wound thoroughly
- Press the edges of the wound together
- Apply a thin layer of liquid bandage over the wound
- Allow the liquid to dry (check instructions on package as this time varies)
- Once FULLY dry, cover with a band aid or other dressing to keep the wound clean

How to remove a bandage
Those are the five ways to make a bandage stick better. But also, removing a bandage is just as crucial as placing one, so remember these steps to remove a bandage from a wound SAFELY:
- Most bandages should only stay on for 12 hours at maximum unless instructed by a physician. This means you are changing the bandage once in the morning, and once at night.
- If a bandage sticks to the wound, soak a washcloth and lay it on the dressing for several minutes. This should help saturate the dressing and allow it to carefully peel off without damaging any of the healing skin.
- Allow time when replacing bandages to allow the skin to FULLY dry on and around the wound. This will ensure that the wound does NOT get extra moisture (which can cause infection) and help the bandage adhere better.
It’s important when dealing with any wound to note signs and symptoms of infection, such as foul-smelling discharge, red streaks on the skin around the wound, and fever. If you note any or all of these when changing a dressing on a wound, seek medical attention immediately.